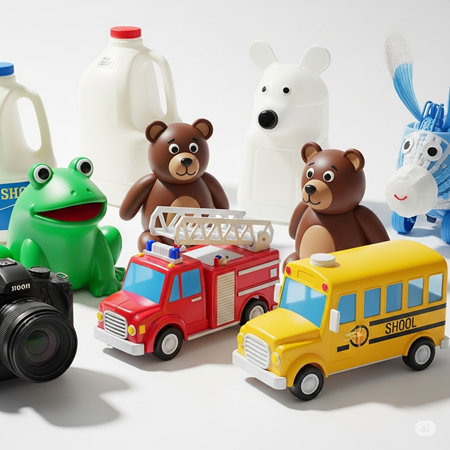
It’s so easy to create your own plastic toys, beads, jewelry, and more. Also known as casein plastic, this process has been used for over 100 years and is the way they used to make plastics before 1945 when synthetic plastics were introduced. Even royalty wore jewelry made from milk plastic years ago.
What You’ll Need
- A stove top or microwave to warm the milk
- Milk, white vinegar or lemon juice.
- Bowl
- Spoon
- Strainer or cheese cloth
- Paper towels
- Molds or other tools for shaping
How to Make It
Measure out 1 cup of milk (you can also use chocolate milk), this makes about 4 minifigures or 4 dinosaurs. Heat on the stove top in a pot or in the microwave in a bowl. You want it to just start steaming. Remove from the heat. Add 4 tsp of vinegar or lemon juice and stir gently. The amount of vinegar or lemon juice is not exact. You will notice that it immediately begins to curdle. Stir gently for approximately one minute for the full reaction to finish and all the curds to form. Don’t stir aggressively. Be gentle.
Strain off the whey using a strainer or cheese cloth. Let drip for a few minutes until most of the liquid has drained off. Gently smoosh the curds around in the strainer if needed. Now remove the curds and place them on a few layers of paper towel. Carefully pat and squish to remove more liquid. You may need to replace the paper towel and repeat a few times. The goal is to remove as much liquid as possible. You will notice it is kind of crumbly and squishy, but you can smoosh and shape it, put it in your molds or shape by hand at this point.
As an additional step you can also put the curds in a jar or bowl. Soaking them in vinegar for an hour, will create a much smoother final product, plus this will make them a truer white. If you do the extra vinegar soak, once the hour is up, repeat the straining, and paper towel drying process again. This time you will notice it is smoother in texture and no longer crumbly. The drying process takes time, approximately 2 days depending on your humidity levels and how much moisture you removed with the paper towels. Once dry, clean up the edges a bit if necessary. You can paint the final products with either acrylic paints or marker.
Related Articles
The 4 Signs of Healthy Chickens
Understanding the Unique Energy Needs of the Donkey


Comment here